
Your first product, start to finish
Add a product from a supplier link, check what Launch Desk wrote, put it live, then make its style image, video and posts.
On this page
Before you start
- Anyone on your store's team can do this.
- A plan, and the setup questions answered
- To add by link, the supplier's website added in setup or in Settings › Suppliers
- Plans: All plans (videos on Growth and Pro). Credits: One product from your plan. Style images on your own scenes are free; AI looks and videos use your plan's AI allowances.
Steps
- Press + Add New Product. Choose how the product is listed: In stock, Pre-order or Draft (only the ones you use are shown).
- On Links, paste the product’s page from your supplier and press Add links. No link? Use By hand (your photos and a few facts) or Spreadsheet (many products at once).
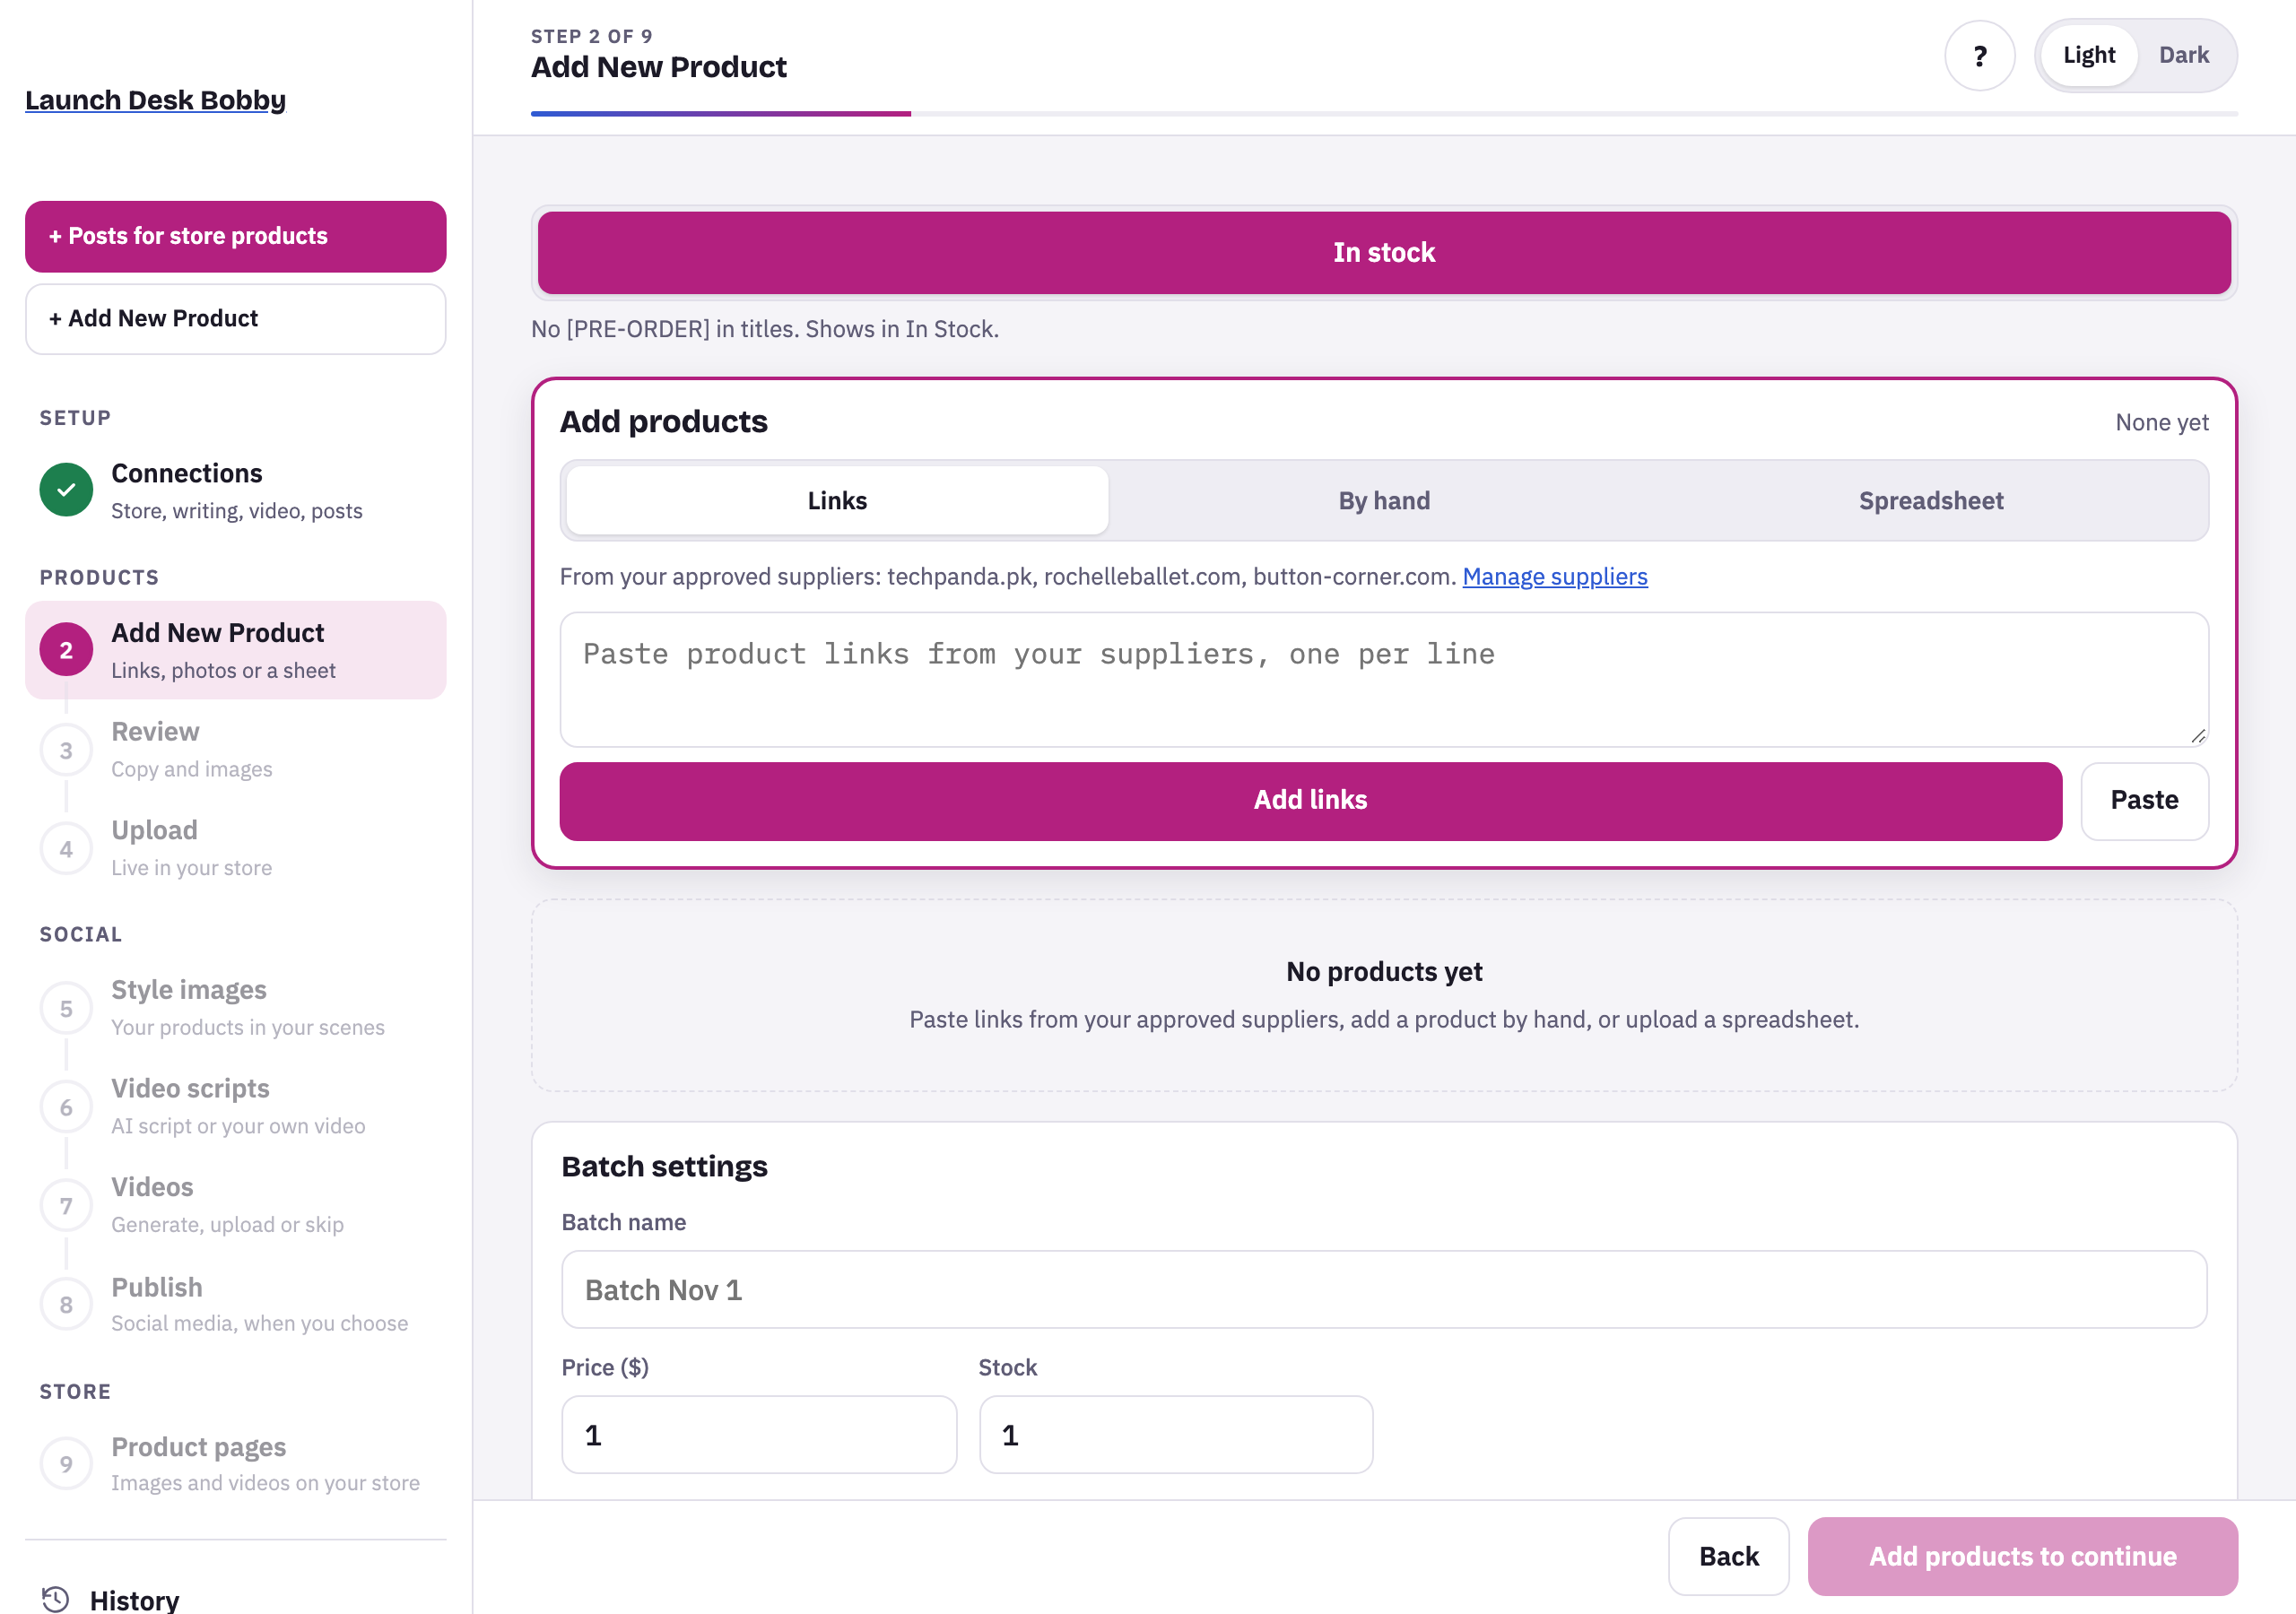
- Under Batch settings, check the price, stock and tags, then press Fetch 1 product. Launch Desk reads the page, prepares the photos and writes the listing. You’ll see Preparing products while it works.
- On Review, check the title, SKU, description, specs and photos. Change anything you like, untick photos you don’t want, or press Rewrite for a fresh version.
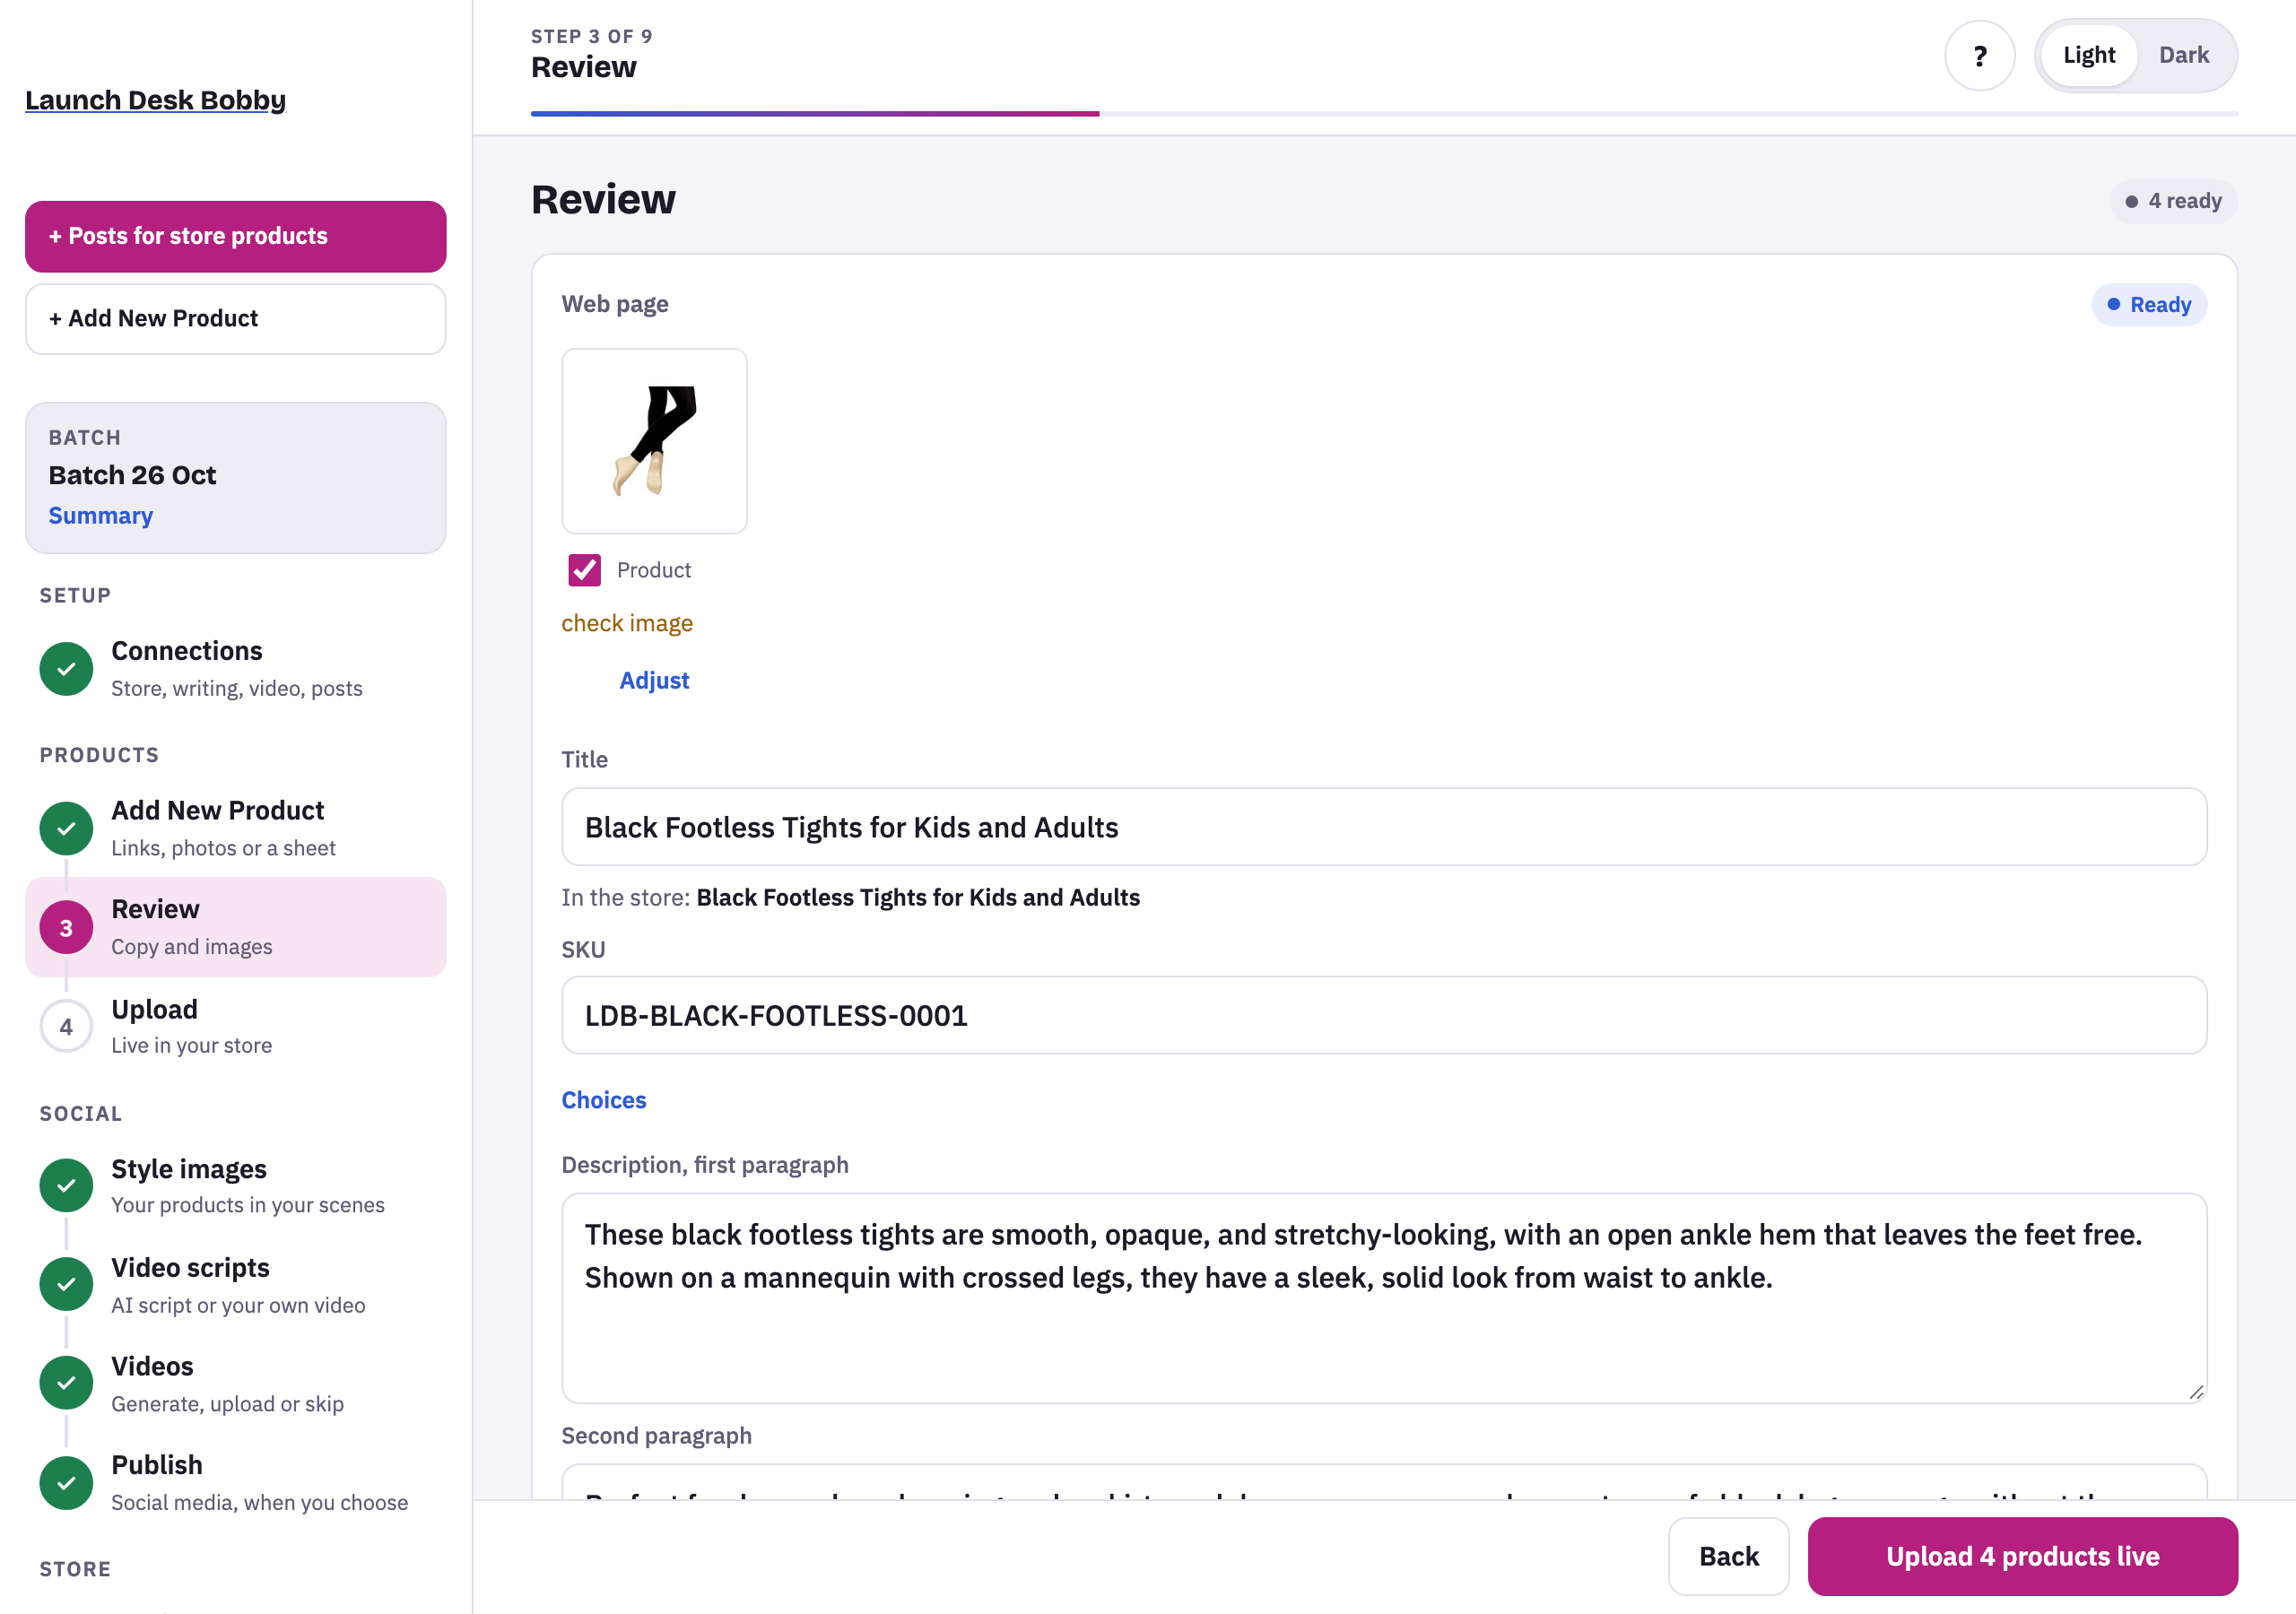
- Press Upload 1 product live (or as drafts for a Draft batch). Each product shows Live or Draft with View in store. If a product with the same SKU is already in your store, it isn’t uploaded twice.
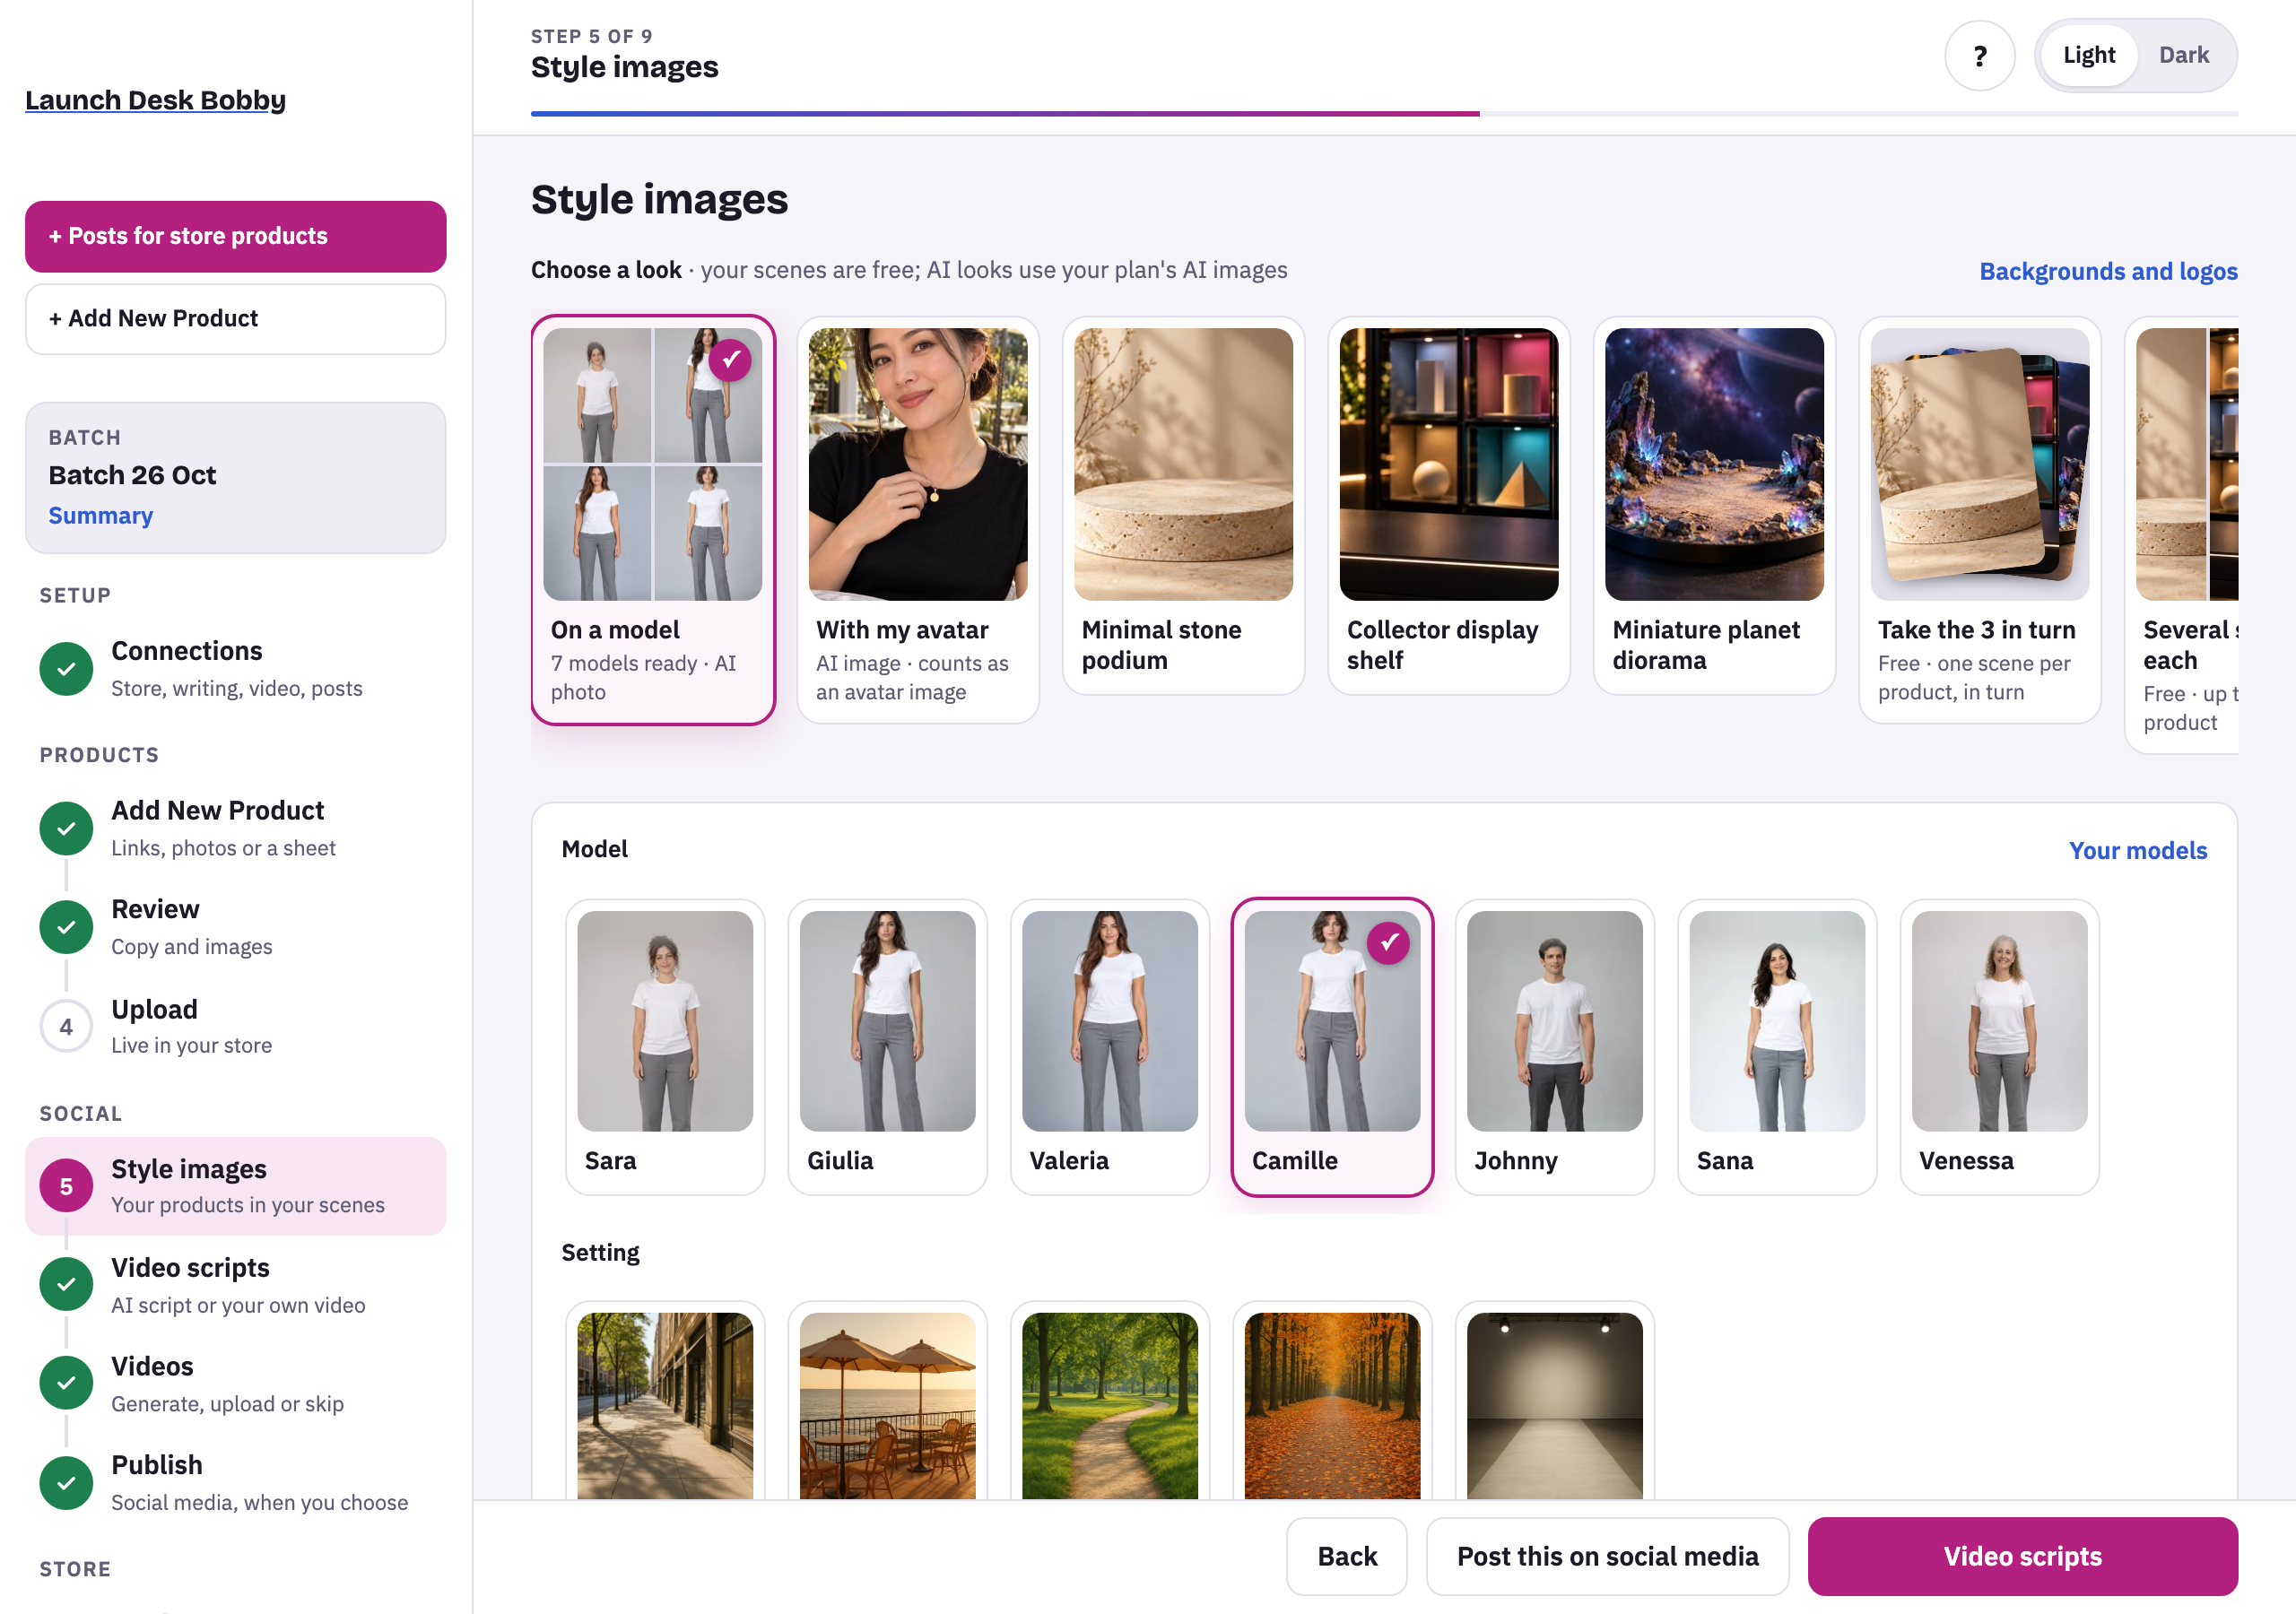
- On Style images, choose a look: one of your scenes (free), your AI avatar holding the product, or a model wearing it (Pro). Captions for your posts are written at the same time.
- On Growth and Pro, Video scripts writes a short script and Videos makes the video. You can also upload your own video, or skip.
- On Publish, choose where each post goes (your store, Instagram, TikTok, YouTube Shorts) and post now or on a schedule.
- On Product pages, add the style image and video to the product’s page in your store.
When every step has a tick, open Summary to see everything the batch made.
Tips and limits
TipStart with one or two products. Once you've seen each step, add more in one batch.
TipEvery step can be done again later from History › Continue.